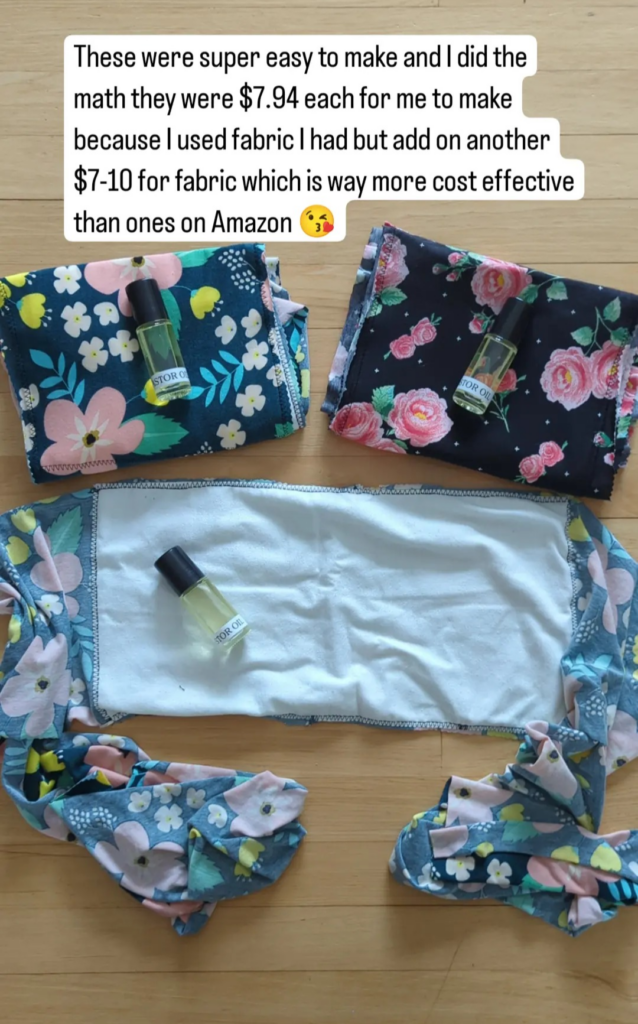
While I am all about learning, I also like to save money by DIYing. That is how The Hippie Martha got its name after all. In this blog, you will learn how to make your own castor oil pack with basic materials and a simple zig zag stitch on your sewing machine in under an hour. I originally made these for myself after not being completely satisfied with the fit and cost of ones on the current market. After many different sizes and trial and error I came up with what I think is the perfect castor oil wrap. I hope you enjoy making these as much as I do.
If sewing or DIYing isn’t your thing, then feel free to contact me here or head into Gathered Botanicals Shop located in Grand Rapids, MI to purchase one of my castor oil packs for yourself.
Materials
- 1.5 yards of stretchy cotton jersey material cut 2 pieces 1.5 yards x 11 inches each
- 3-18×10 inches of organic cotton wool flannel or organic cotton flannel
- Matching thread or any thread you have
- Scissors or a rotary cutter
- Measuring tools like a yardstick, tape measure, or mat to cut on
- Sewing machine that can do a zig zag stitch
- Simple skills to measure, cut, and use a sewing machine
Step 1: Buy Your Fabric
When picking out materials you are going to need a stretchy material such as one made of a cotton jersey or cotton spandex. I try to stay away from polyester but use what you have or can find. Most local fabric stores will have these stretchy fabrics available. My OG castor oil wrap was made from remnants I had that I used to make headbands and scrunchies with. Then once I started selling them I found one fabric that was easy to cut, was thick but stretchy, was durable, and looked nice.
The second fabric that you want to look for is the one that the castor oil is going to go on and come in contact with your skin. This fabric you need to be more picky with because you don’t want any added toxins coming in contact with you or the castor oil. You will want to choose an organic cotton flannel or an organic wool flannel. Some fabric stores will have this but if you want the easy way out you can order a pre-cut version of the wool or flannel here. Take note that the wool may feel more itchy on your skin which is why I prefer the flannel. Also, the sizes may vary so adjust your cutting accordingly.
As for the amounts of fabric that you will need, I make mine with approximately 1.5 yards of the cotton jersey fabric. Now this will actually make more than one, but you want the length so that you can wrap the material around your body a few times. The dimensions of the stretchy fabric needs to come to roughly 3 yards in length by 11 inches in width. Feel free to adjust or customize to your liking. After trial and error, I found these measurements to fit multiple sized bodies and be versatile to use on various areas of the body.
Step 2: Wash and Iron Your Fabric
Before you start cutting and sewing, I recommend washing your fabrics in a non toxic gentle detergent making sure to not use any fabric softener or fabric sheets in the dryer.
You may need to iron the fabric if it is really wrinkled just for easier sewing.
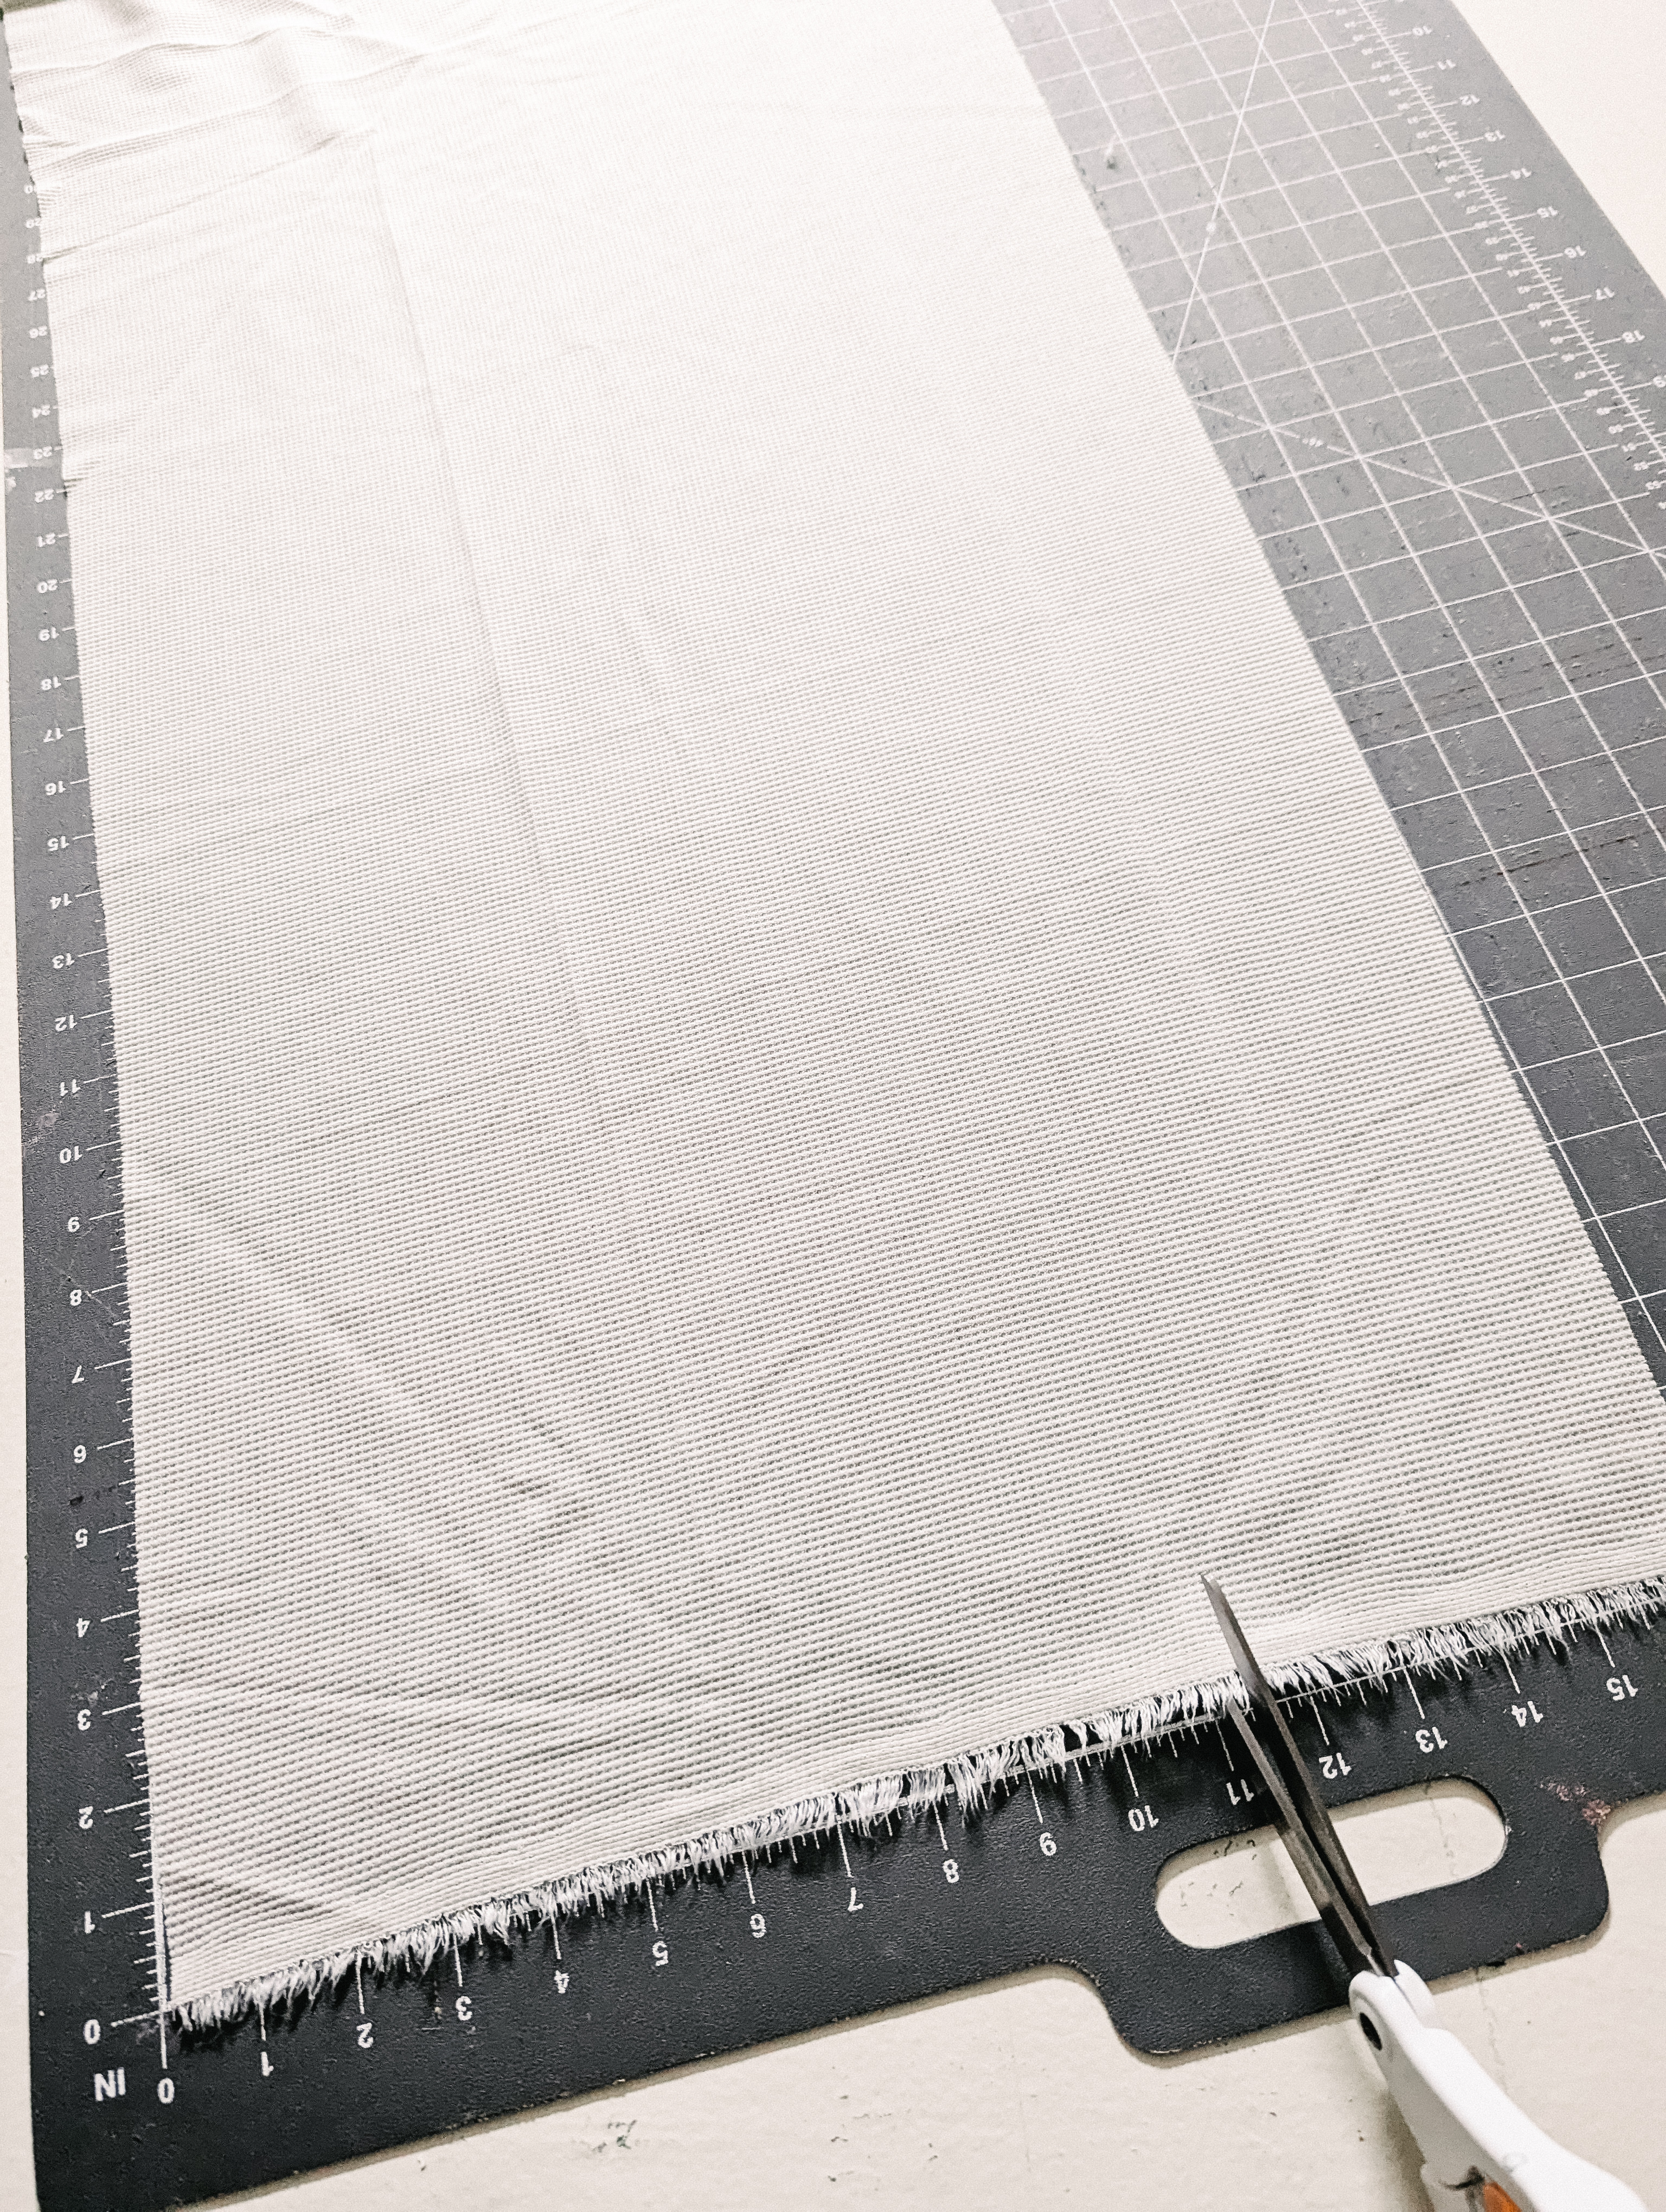
Step 3: Time To Cut
Lay your stretchy fabric flat and make 2 long strips. Each strip will be approximately 1.5 yards in length by 11 inches in width. Make sure you cut the stretchy fabric so that it stretches lengthwise.
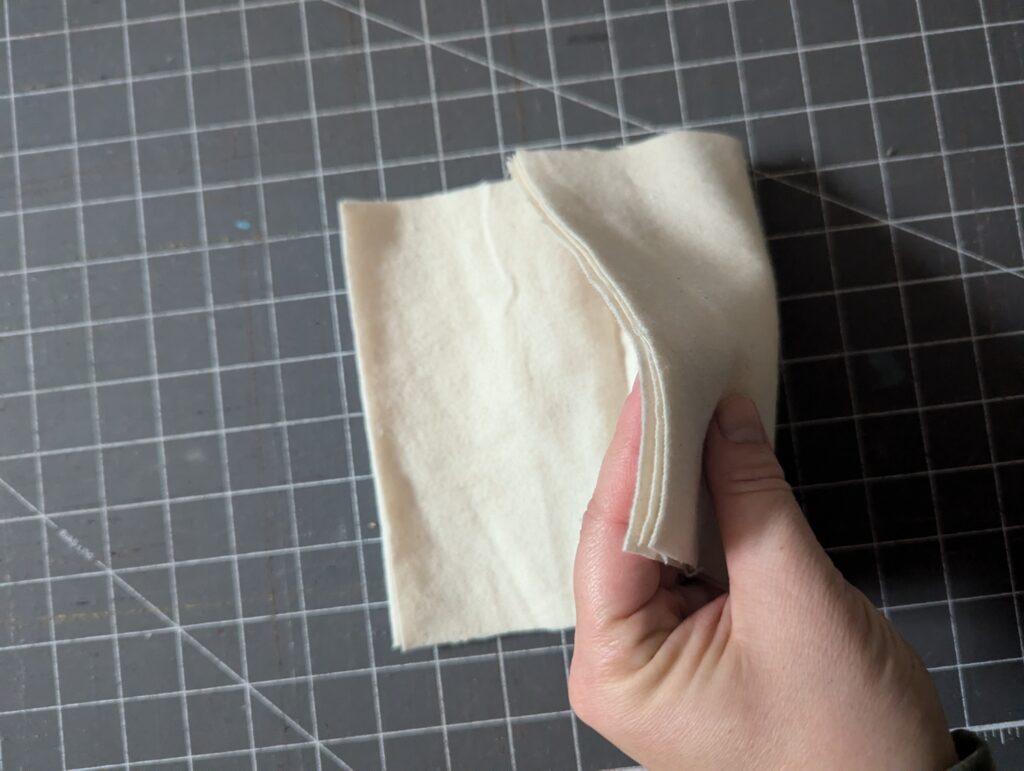
The wool/flannel piece needs to have 1-3 layers. As you can see below, the more layers it is the less you will have to worry about the castor oil bleeding through to the outside of the stretchy fabric.
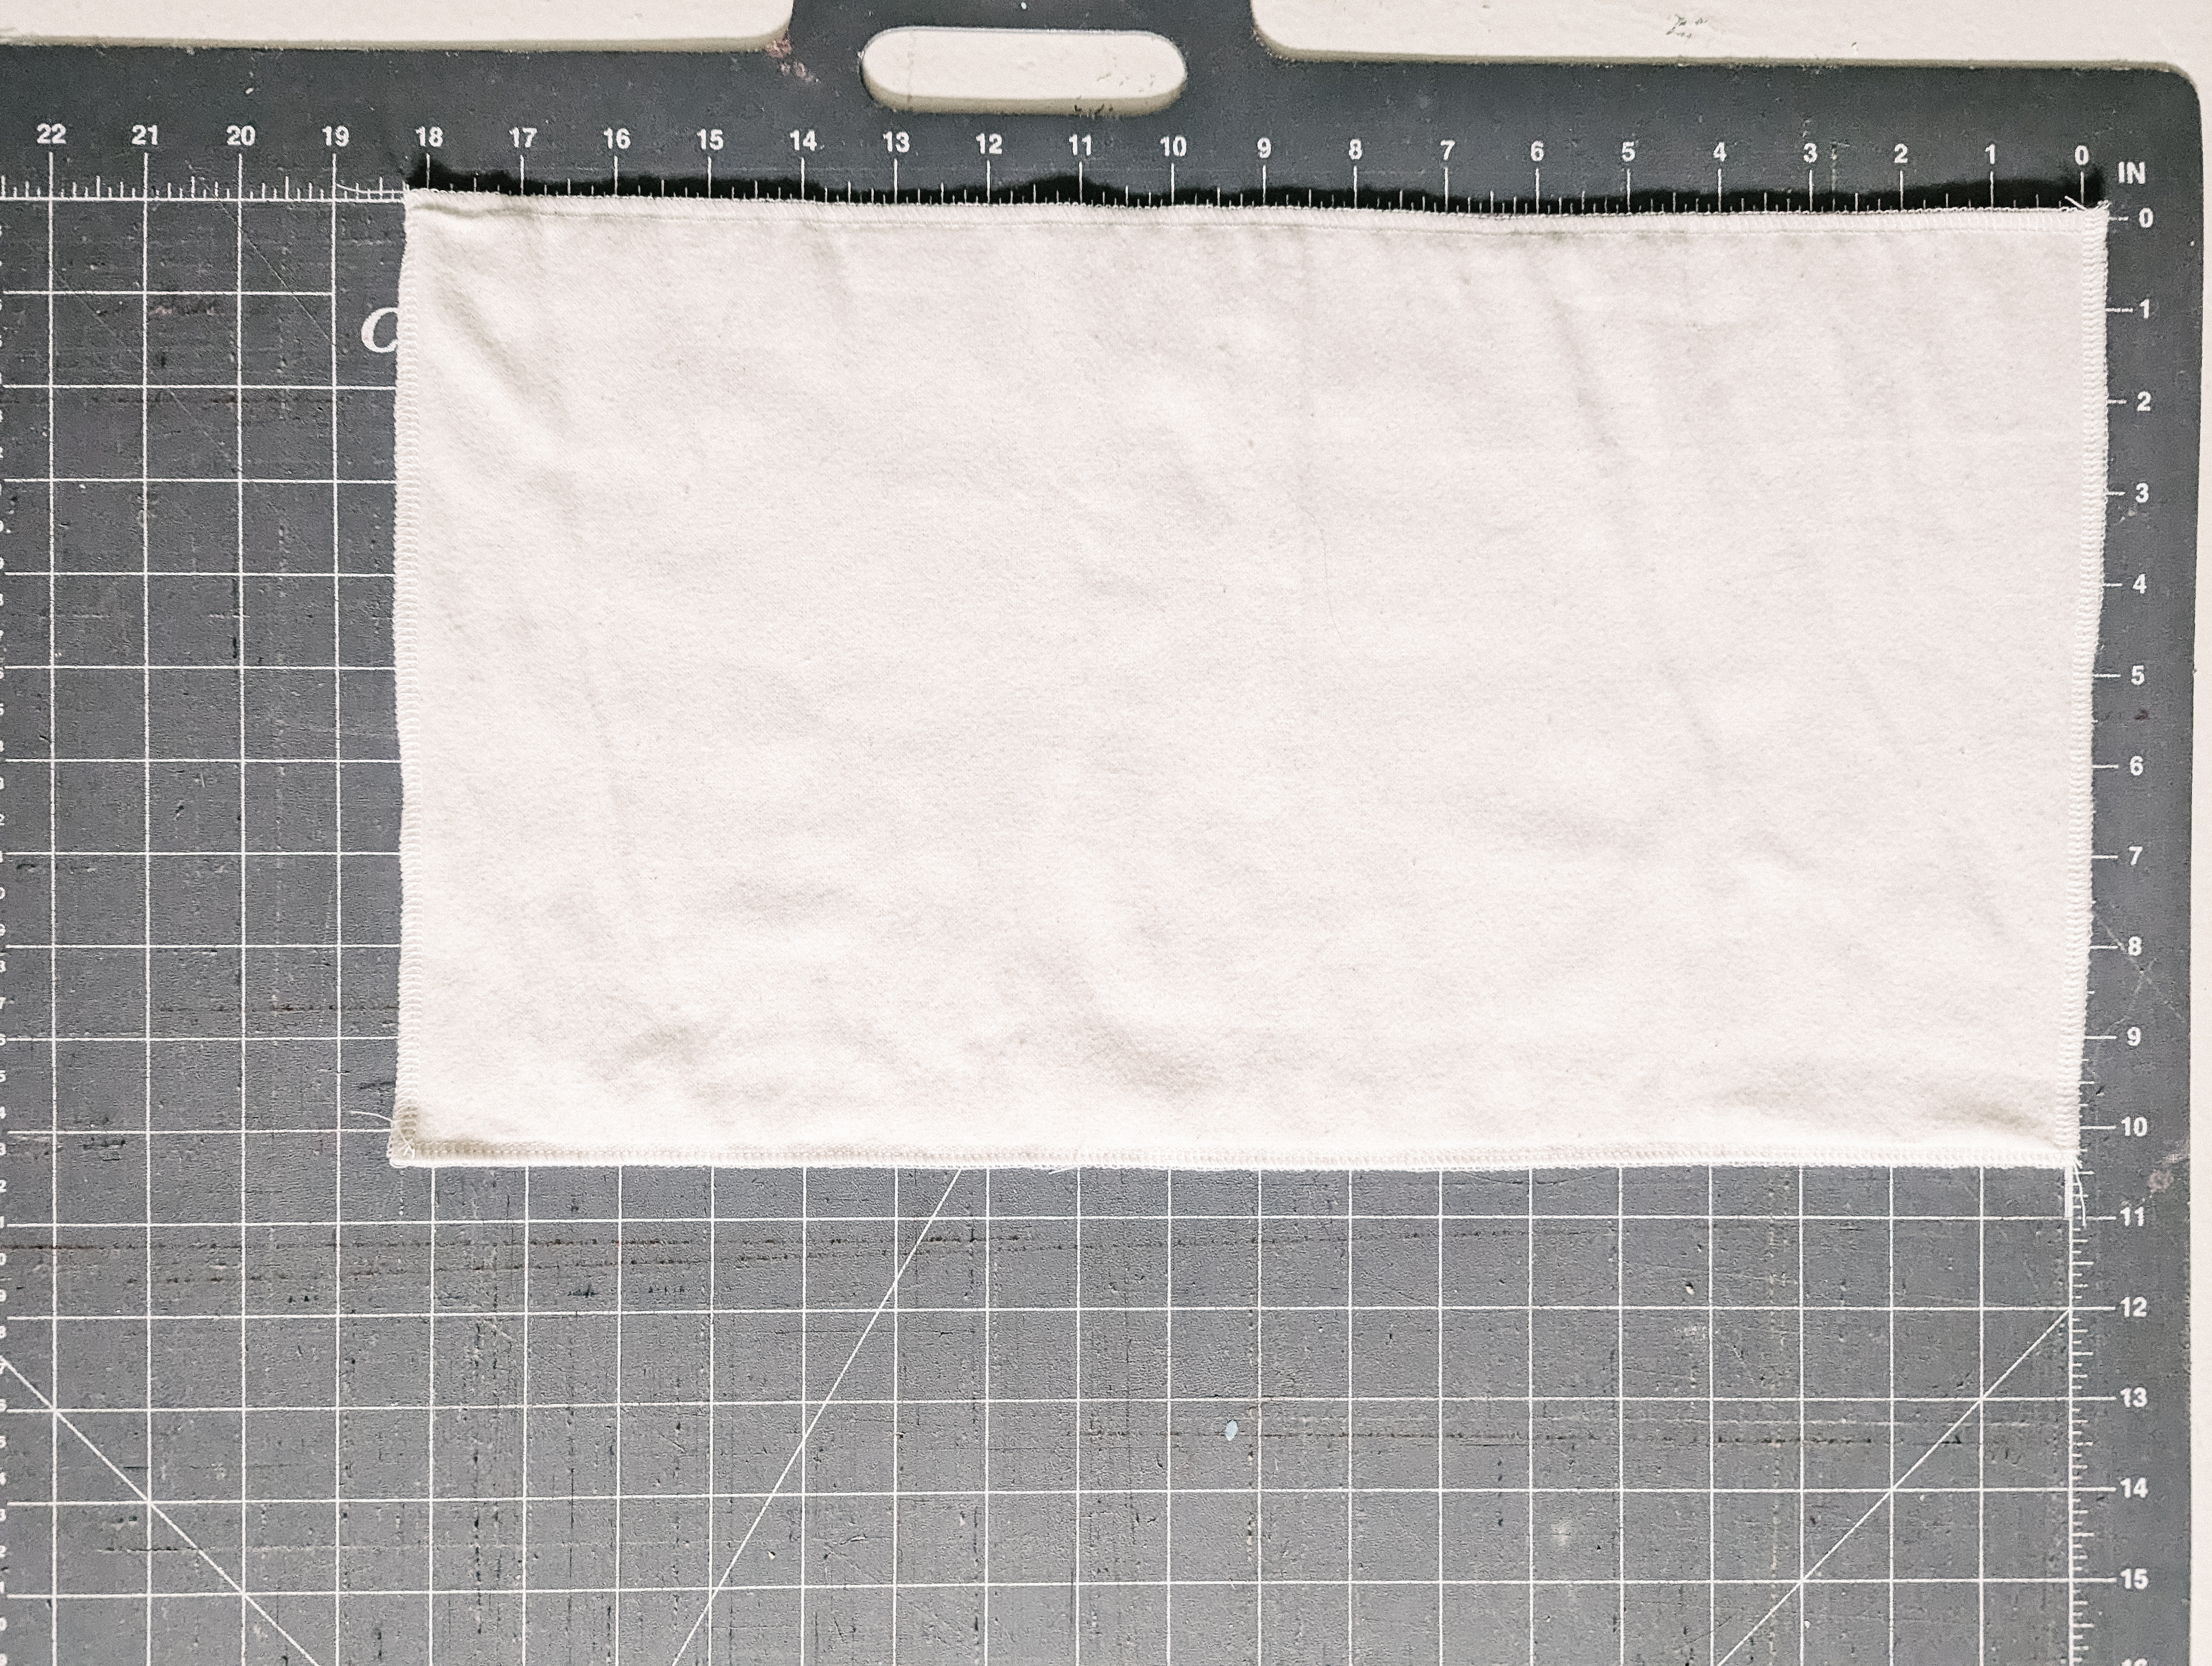
My measurement of the flannel is 18 in x 10 in. If you order ones that are pre-made, you may need to adjust your width of the stretchy fabric to the pre-made cotton flannel.
Step 4: Time To Sew
Once you have everything cut it’s time to sew!
First, take two ends of the long tails of the stretchy fabric and bring right sides together. Pin and sew the two pieces right sides together using a zig zag stitch down creating a line down the middle. This will make the wrap longer and will be the center of your castor oil pack where you are going to apply your organic cotton wool or flannel piece.

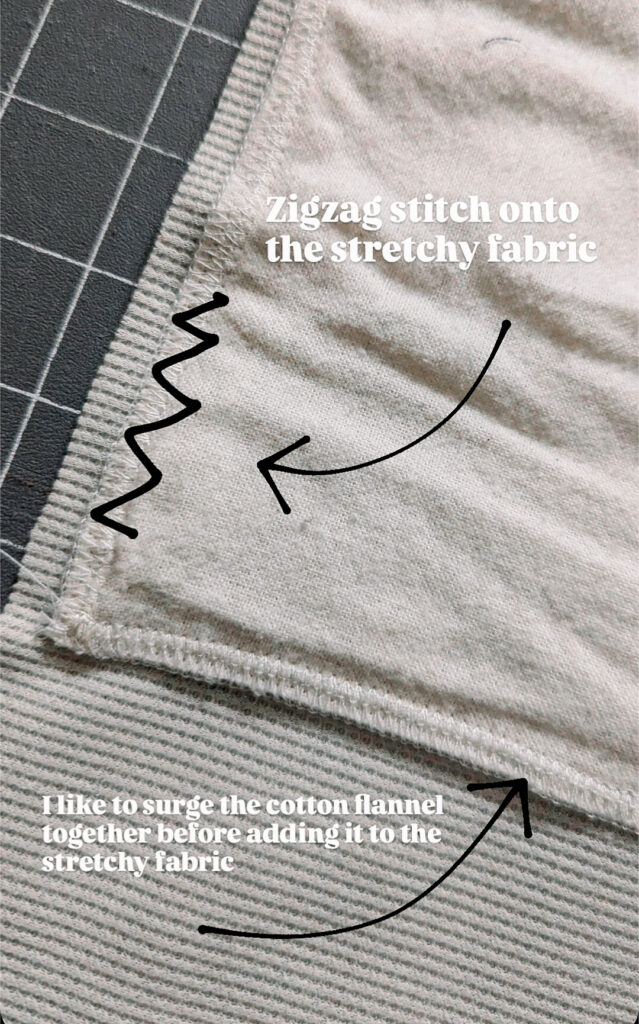
Next you are going to take your cotton flannel and if you have multiple layers you can sew these together now with either a straight stitch or zigzag. Shout out to my mom who actually has a serger so she serged the outsides for me. Please note that a serger is not required but it looks nice for a finished edge and is how I make all of mine that I sell. If you purchased a piece of cotton flannel or wool it will be put together for you already.
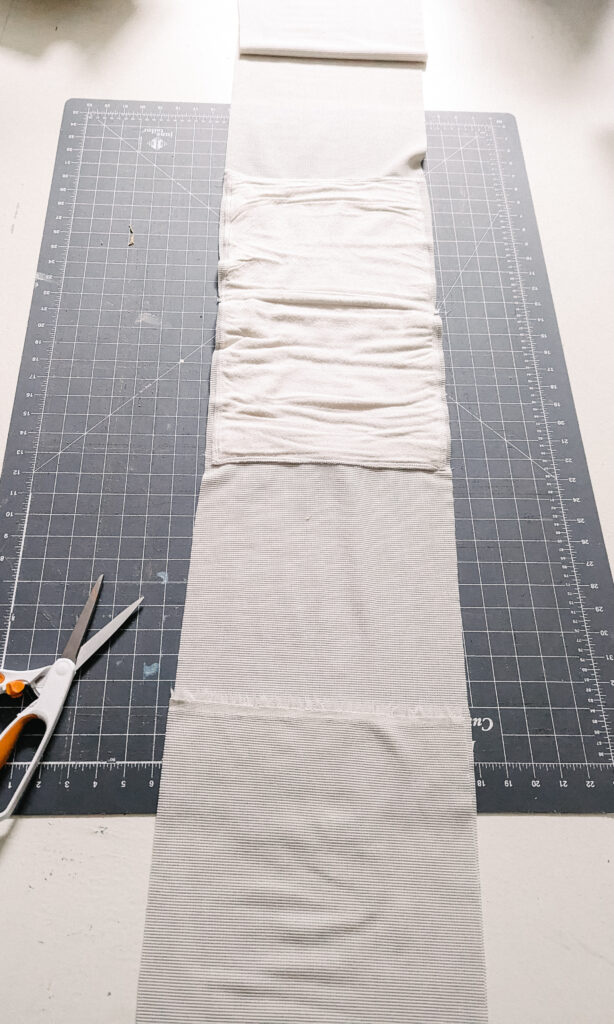
Now you are going to line the middle of the cotton flannel/wool fabric up with the middle of the stretchy fabric and pin it down.
Set your stitch to zigzag and stitch all the way around the cotton flannel attaching it to the stretchy material.
Once you have sewn around every side of the cotton fabric you have completed your castor oil pack!!!! You now have a versatile castor oil pack that you can use over and over again to support your body.
*Please note that castor oil does stain and that your wrap will have stains on it but it’s no big deal because that is truly the purpose of the wrap. If you don’t like the look I suggest choosing a light or dark fabric that won’t show the stains as much.
Here is a YouTube video of how to use your castor oil pack once you make it or purchase it from me!
If you give this a try please tag me @thehippiemartha on IG or leave a comment below. I would love to see how it turned out!
Leave a Reply to Ashley -The Hippie Martha Cancel Reply